|
- 400-800 OMC boat repair photos
- Co-manufacturer and distributor for
GLM Products including aftermarket with 2 year limited warranty on parts
|
|
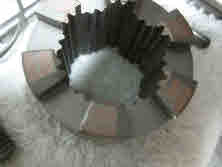
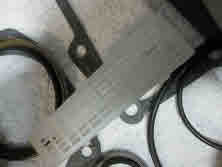
Sandblast outdrive parts
|
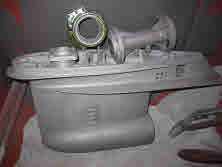
Lower unit is disassembled, and placed into the sandblast area
|
|
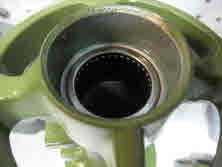
inside gearcase and out
|
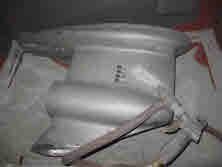
The outside and inside of the housing is sandblasted, removing all rust and corrosion
|
|
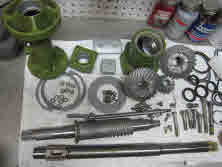
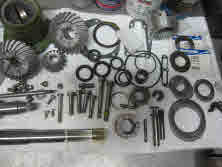
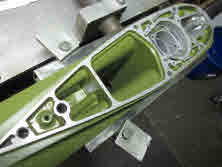
Sterndrive rebuild parts
|
New parts are installed, with the exception of the bearing carrier and bearing retainers which are sandblasted and
primed. For repair jobs, if parts removed from customer unit can be re-used, they are sandblasted. Some are primed such
as the bearing carrier.
|
|
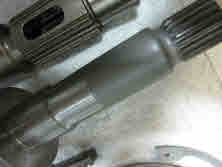
New prop shaft installed
|
For replacement rebuilt lower units, a new propeller shaft (GLM P/N 22414, 1-3/16") is installed. For
customer units, a dial indicator is used to determine if the propeller shaft is out of round (bent). This would not be visible
to the eye when turning so the tool is required. The threshold we use to determine if it needs to be replaced is .004"
out of round. Any more than that, and continued use of the bent unit would damage the oil seals and allow for water to enter
the gear case and oil to leak out.
|
|
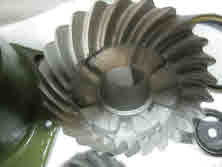
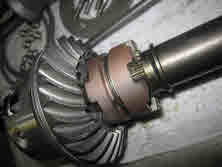
reverse gear
|
Reverse gear is installed
|
|
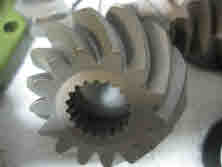
Pinion gear
|
Pinion gear is installed
|
|
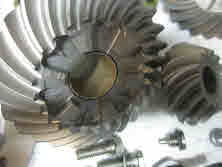
Forward gear set
|
For rebuilt units, a new forward gear and pinion are installed. For customer units, the forward and pinion are
inspected for any chips or cracks on the teeth - or excessive pitting that would effect the integrity of the tooth on the
gear. If found, a new forward/pinion set is installed.
|
|
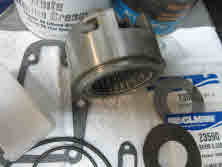
forward bearing retainer
|
The forward bearing housing assembly is installed (GLM P/N 27700, replaces 389455). This has the bearing pre-installed into
the housing.
|
|
Clutch dog
|
A new clutch dog is installed (GLM P/N 22625, replaces 337774). For customer repair jobs, the teeth (corners)
on the clutch are inspected - if there are signs of wear, in which the edges are beginning to or have rounded out, a new clutch
is installed. Re-using a worn clutch would continue to cause problems with shifting, possibly loss of forward and reverse
or shift cable damage.
|
|
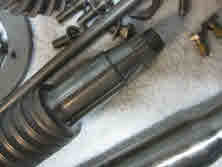
Drive shaft
|
The vertical drive shaft is installed. For customer lower units, the unit is inspected for excessive wear or
damage to the threaded area. In many instances, the boat parts can be repaired using a lathe. Shaft must be replaced if it
is not repairable.
|
|
|
|
|
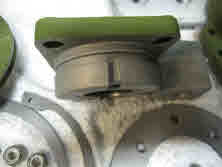
Swivel bearing retainer
|
The swivel housing is installed. It is sandblasted, primed and painted before installation and the face is machined to make
sure it seats flush onto the lower unit / gasket.
|
|
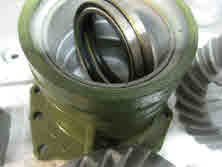
bearing carrier
|
The bearing carrier is sandblasted and primed, and the bearing (P/N 11410, replaces 387247) and the reverse gear bearing
are pressed in.
|
|
Upper bearing retainer
|
The upper bearing retainer is installed - cleaned and primed
|
|
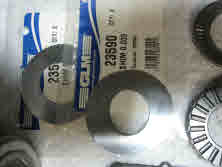
Shims
|
All gears are shimmed to correct OEM specifications
|
|
Forward assembly
|
Forward gear and clutch are assembled
|
|
New intake screen installed
|
The intake screen is installed and painted to match outside case color
|
|
Zinc chromate paint
|
Zinc chromate primer is used on the inside of the housing
|
|
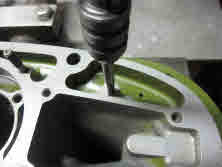
1-4 inch holes re-tapped
|
|
|
inspected
|
|