|
- Outdrive repair help on 8 or 10 bolt swivel housings
- 8 Bolt housing years 1967-1971
- 10 bolt
housing years 1972-1977
- Swivel housing separated from out-drive
- Oil seals removed and inserted with 1/8 inch
offset with Loctite 680
- Electric shift step by step pictures of outdrive repair
- Exploded View sterndrive drawings
|
A-Electric shift repairs require the 8 or10 bolt swivel housings |
Electric shift repairs require the 8 or10 bolt swivel housings be removed. Picture shows 8 bolt housing. Years 1967-1971 high
profile exhaust housing are not interchangeable with later year 10 bolt housings.
|
|
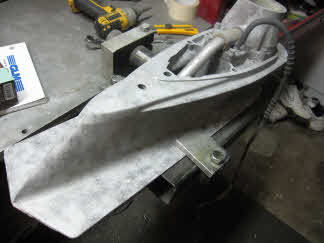
B Sandblasted outdrive with 10 bolt housing
|
Sandblasted outdrive with 10 bolt housing years 1972-1977 with 3 bolts at the back, 2 at the front on each side.
|
|
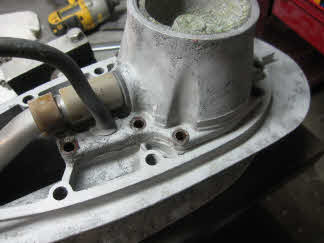
This picture shows 10 bolt housing with bolts remove
|
This picture shows 10 bolt housing with bolts remove
|
|
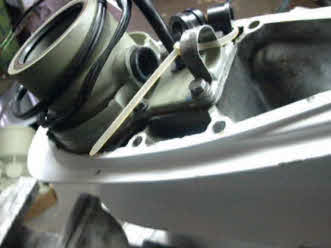
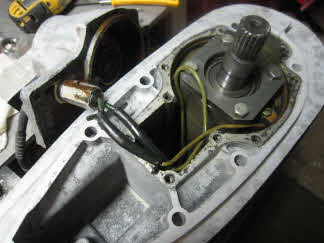
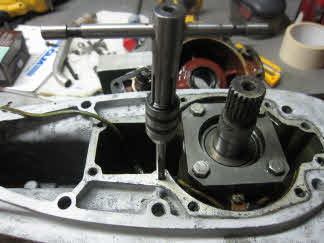
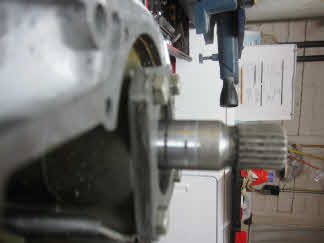
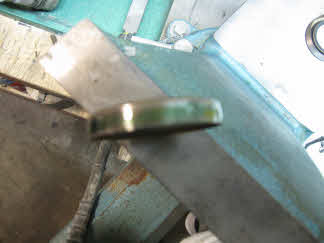
D Swivel housings can be separated from out-drive case by inserting item into tube seal area
|
Swivel housings can be separated from outdrive case by inserting item into tube seal area and lifting upward.
|
|
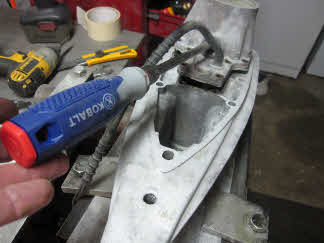
E Shift wires rubber protective tube will slide to the side to access connectors
|
Shift wires rubber protective tube, will slide to the side on wires to access connector terminals.
|
|
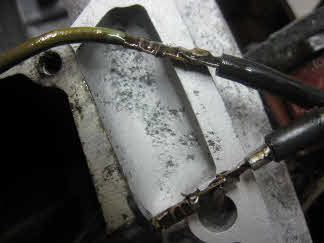
F Undue both the connectors
|
Undue both the connectors
|
|
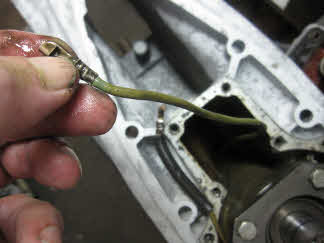
G Slide rubber tubing off wire to reuse later
|
Slide rubber tubing off wire to reuse later
|
|
H Forward coil wire does not have to be removed
|
Forward coil wire does not have to be removed unless taking out forward coil or forward tapper bearing
|
|
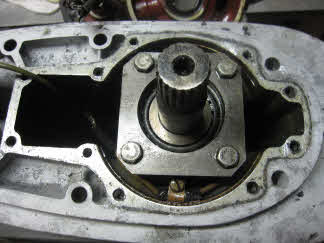
I Surface area should be cleaned holes re-tapped 1-4 inch
|
Surface area should be cleaned holes re-tapped 1/4 inch 20 national coarse thread.
|
|
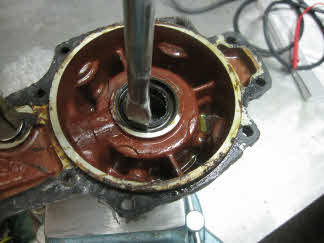
J Remove two small oil seals with screw driver
|
Remove two small oil seals with screw driver
|
|
Remove top seal insert screw drive and pry off
|
Remove top seal insert screw drive and pry off.
|
|
Remove oil seal middle of swivel housing through small opening
|
Remove oil seal middle of swivel housing through small opening.
|
|
M Remove gasket material
|
Remove gasket material.
|
|
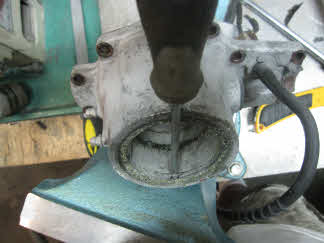
N Sandblast or wire brush all oil seal areas and gasket surface
|
Sandblast-or-wire-brush-all-oil-seal-areas-and gasket-surface
|
|
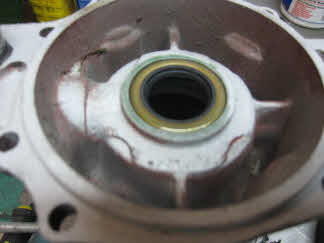
O Drive shaft scoring in old seal area
|
Drive-shaft scoring in old seal area will require new seals to be installed offset by 1/8 inch. seal can be placed up
or down from original position
|
|
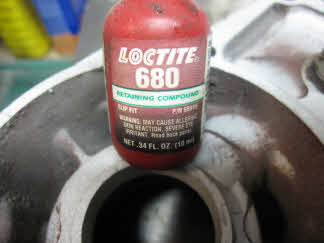
P Loctite 680 will be required to hold seal in housing
|
Loctite 680 will be required to hold seal in housing
|
|
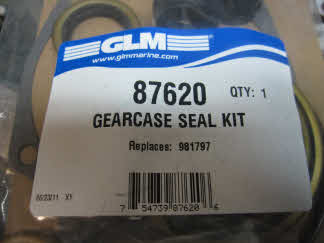
Q 87620 GLM aftermarket seal kit OEM 981797
|
87620 GLM Marine aftermarket seal kit OEM 981797
|
|
R Apply 680 Loctite to retainer seal area
|
Apply 680 Loctite to retainer seal area
|
|
R2 Apply 680 Loctite to each seal to be installed
|
Apply 680 Loctite to each seal to be installed in swivel housing
|
|
S Install the 1st seal face down or spring area down
|
Install the 1st seal face down or spring area down
|
|
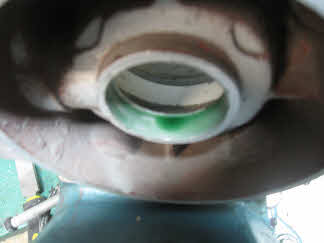
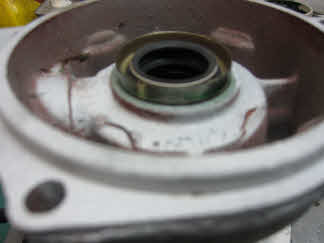
Installed offset seal
|
Insert-2nd seal with Loctite facing up or back to back
|
|
U Install 2nd seal 1-8 inch offset from retainer area
|
Install 2nd seal 1/8 inch offset from retainer area with loctite holding half of seal. Note loctite holds over 1200 lbs per
square inch with less than .010 gap in materials.
|
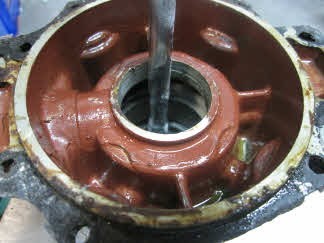
|
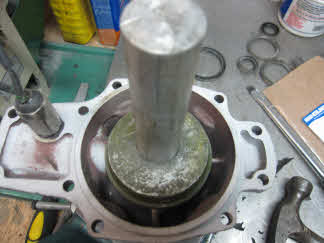
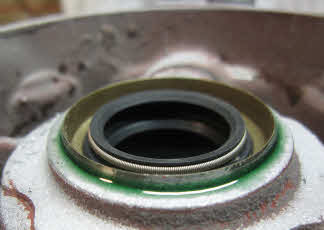
Installed offset seal
|
Installed offset oil seal 1/8 inch from casting material
|