|
- OMC 400 and 800 shift cable removal from intermediate housing
- Video how to series for installation and
adjustments
- Exploded view 800 tech drawings upper gearcase or lower unit
- Step by stem removal pictures and tools required
|
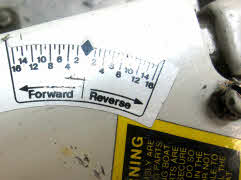
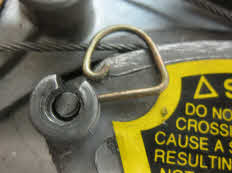
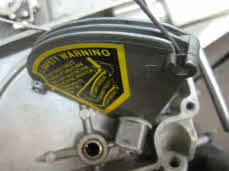
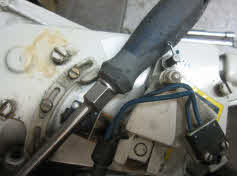
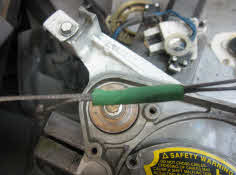
See Video 400-800 adjustment Remove shift cable end and cotter pin
|
By author Trish Dougherty
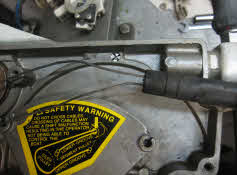
Disconnect positive on battery wire before removing shift cable, if loose wire on cable comes in contact with with
starter or tilt solenoid terminals your $700.00 cable will have melted wires.
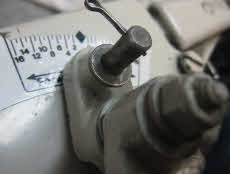
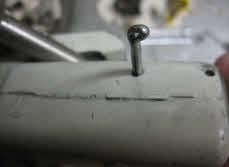
Mark the location of the
shift arm in neutral at current location before remove shift cable end and cotter pin when working on upper gear-case.
|
|
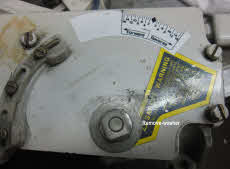
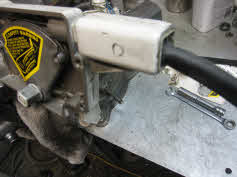
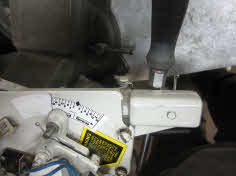
shift cable clamp
|
|
|
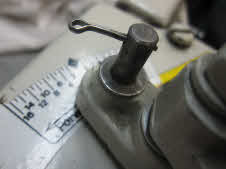
Replace washer
|
Remove shift cable end and cotter pin and replace washer and cotter pin so as to avoid losing any parts.
|
|
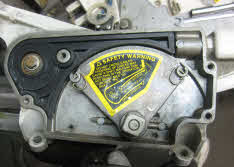
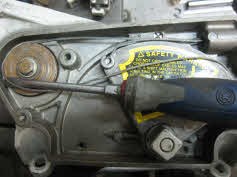
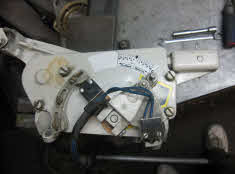
Disconnect micro switch wire
|
Disconnect micro switch wire
|
|
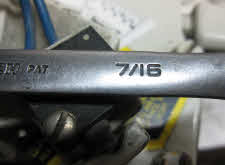
7/16 inch open end wrench required
|
One 7/16 inch open end wrench will be required.
|
|
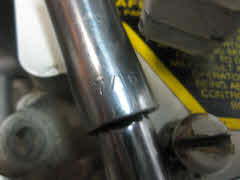
7/16 inch socket required
|
One 7/16 inch socket and socket wrench will be required and one 1/4 inch socket.
|
|
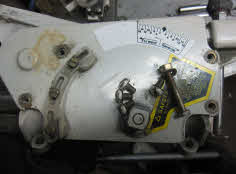
black plastic wire guide
|
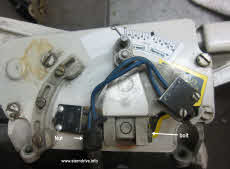
Remove bolt, washer and nut that holds the shifter arm in place.
|
|
|
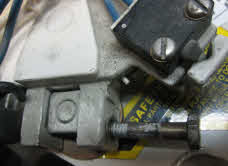
Remove bolt completely from the arm.
|
|
nylon washer
|
Remove nylon washer
|
|
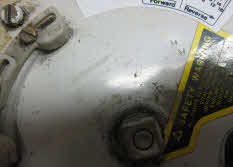
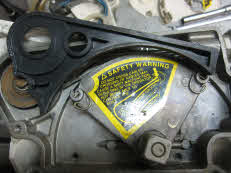
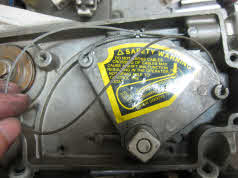
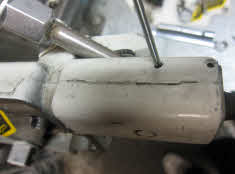
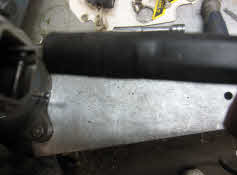
Remove 4 screws
|
Remove 4 screws
|
|
top cover
|
Remove top cover
|
|
B8
|
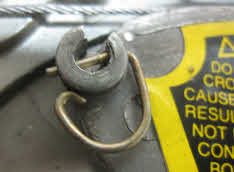
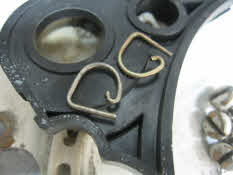
Pull clips upward
|
|
Pull clip out
|
Pull clip upward and then out
|
|
black plastic wire guide
|
Remove black plastic wire guide
|
|
B6
|
|
|
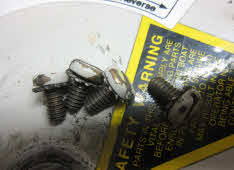
The following parts should be removed
|
The following parts should be removed
|
Tools required two 1/4 inch screw drives are required |
Tools required to remove shift wires from pulleys are just one 1/4 inch screwdriver.
|
|
|
|
|
E4
|
Remove cable wire from pulley
|
|
E5
|
|
|
|
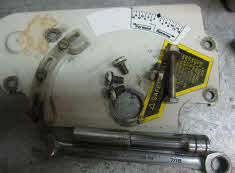
wire puck
|
|
Remove both wire pucks from housing
|
Remove both wire pucks from housing
|
|
D7
|
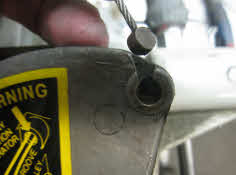
Push in on cable
|
|
Move cable in about half inch
|
Move cable in about half inch
|
|
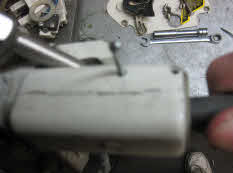
With cable push in slide cotter pin in on left side hole
|
With black shift cable push in all the way, slide cotter pin located on top left into hole.
|
Leave pin in untill reinstalling cable |
Leave pin in untill reinstalling cable
|
| |
Remove screwdriver from claw and housing.
|
|
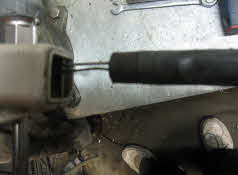
Slide out shift cable
|
Slide out shift cable
|
|
F2
|
|
|
F3
|
|
|
www.sterndrive.info has used part if required
|
www.sterndrive.info has used part if missing or broken required.
|
No parts get lost this way |
No parts get lost this way
|
|
Take 3 minutes to install
|
Take only 2-3 minutes to install lose parts in place.
|
|
Replace all parts
|
Replace all parts and don't forget to remove your screwdriver.
|
|
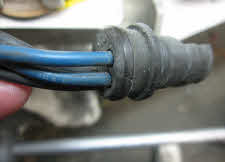
Tape wires together
|
Before removing cable from boat - Tape
lose wires with electrical tape so they don't catch on engine compartment components
- Spray dish
detergent soap on shift cable before pulling through transom hole
- Undue three 3/8 inch bolts
on 1/4 moon lift gear so out-drive can be lifted up with out the 12 volt electric power on
- Undue
5/16 bolt that holds shift cable bracket in place, located under intermediate housing ball gear
|